-

Blueprint Exam Objectives https://docs.broadcom.com/docs/vcp-vvf-arch-3 Broadcom Techdocs Documentation https://techdocs.broadcom.com/us/en/vmware-cis/vcf/vcf-5-2-and-earlier/5-2/vmware-cloud-foundation-operations-5-2.html Join the VCP-VCF Administrator Exam Study Groups Discord Channel - https://discord.gg/cAgPKfAPnd …
Read More -
Let's begin by the full catalog So you can make your own selection. https://labs.hol.vmware.com/HOL/catalog VCF 5.2 with VCP-VCF in mind with a focus on Aria Suite I've spelled the lab page number to better identify them, this is especially useful if you're talking to someone else to be on the same page. lab 14177 - …
Read More -

VCF 9.0 Release Generally Available as of Today 17/06/2025 Broadcom Official News Release Release Notes Whats New Whats-New/VMware-Cloud-Foundation-01-Installer-console.png Whats-New/VMware-Cloud-Foundation-01-Installer-console.png Whats-New/VMware-Cloud-Foundation-02-Operations-console.png …
Read More -

Laying Plan with tools at hand, namely VMware Cloud Foundation 5.2 Planning and Preparation Workbook, VMware NSX Reference Design Guide 4.2, Automated VMware Cloud Foundation Lab Deployment Branch Fork Vlan and Vyos At a starting point we'll use this logical design from VMware NSX Reference Design Guide 4.2 (download …
Read More -

Follow-up Deploy VMware NSX Edge Cluster via VCF API Follow-up of previous post of this serie on VCP-VCF VCP-VCF, After Bringup, Planning Workbook, Configure VLANs, DNS, NTP, BGP, Deploy VMware NSX Edge Cluster via VCF API Add AVNs Verify with Upstream Router connectivity Deploy VMware Aria Suite Lifecycle Verify DNS …
Read More -

Follow-up Automated VMware Cloud Foundation Lab Deployment Branch Fork Vlan Follow-up of previous post and start of this serie on VCP-VCF Automated VMware Cloud Foundation Lab Deployment Branch Fork Vlan Important Note: I downloaded on 20 March 2025, before VMware by Broadcom changed the way to download on 24 March …
Read More -

Laying Plan with tools at hand, namely VMware Cloud Foundation 5.2 Planning and Preparation Workbook, VMware NSX Reference Design Guide 4.2, Automated VMware Cloud Foundation Lab Deployment Branch Fork Vlan and Vyos At a starting point we'll use this logical design from VMware NSX Reference Design Guide 4.2 (download …
Read More -
Find me Here along all the vEXPERT around the Globe https://vexpert.vmware.com/directory/10999
Read More -
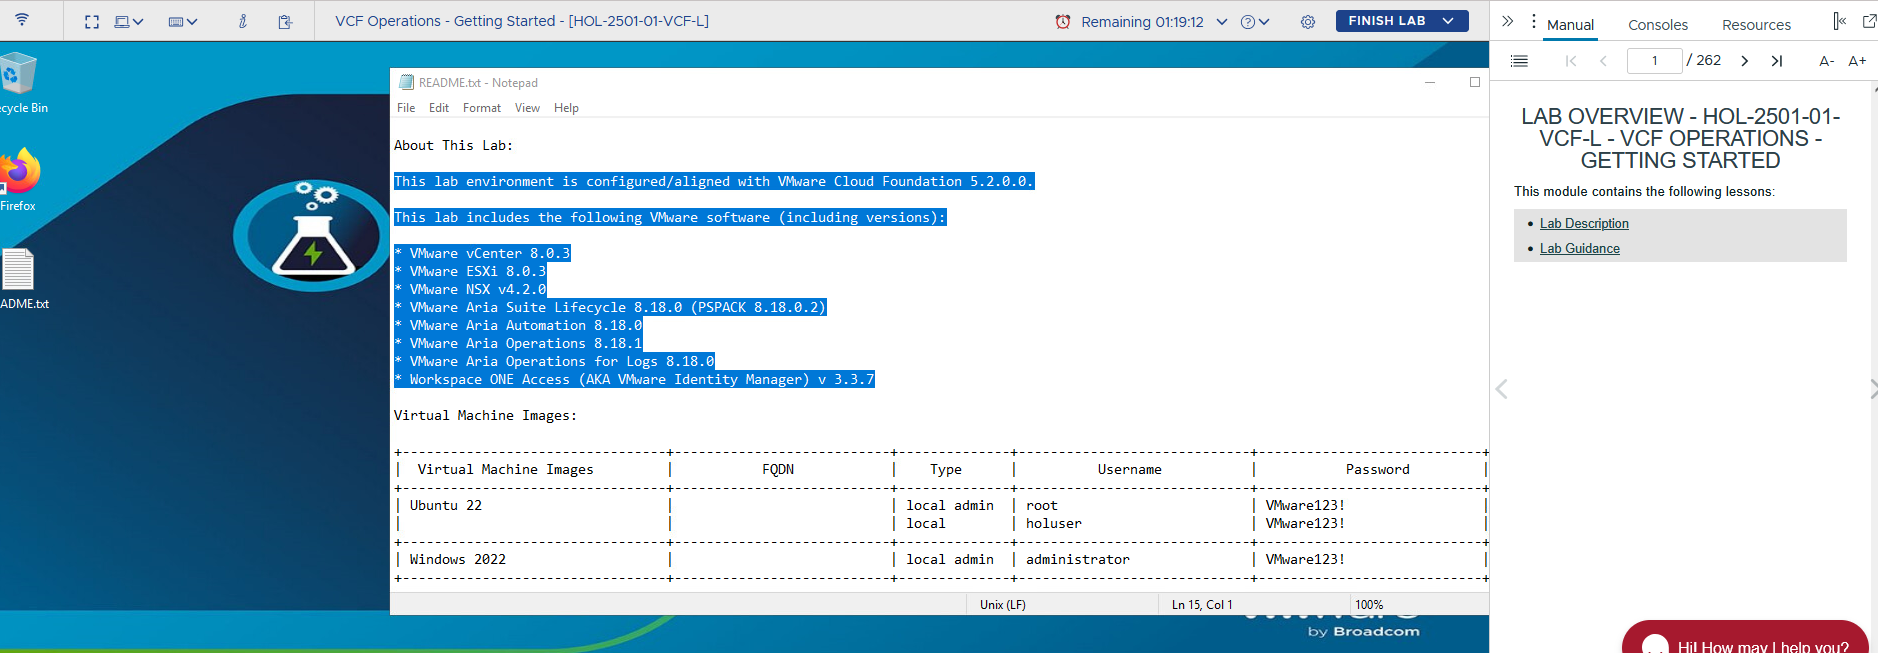
Automated VMware Cloud Foundation (VCF) 5.2.1.2 Import Lab 2 nodes on NFS With NSX Deployment Script

Lab Tutorial: Deploy and Convert vSphere 2 Nodes vLCM on NFS to VCF Management Domain with NSX Deployment on the new VCF Management Domain Considerations Before Converting or Importing Existing vSphere Environments into VMware Cloud Foundation 21/01/2025 Updated to VCF 5.2.1.1 Bill Of Software Materials Nested ESXi …
Read More -
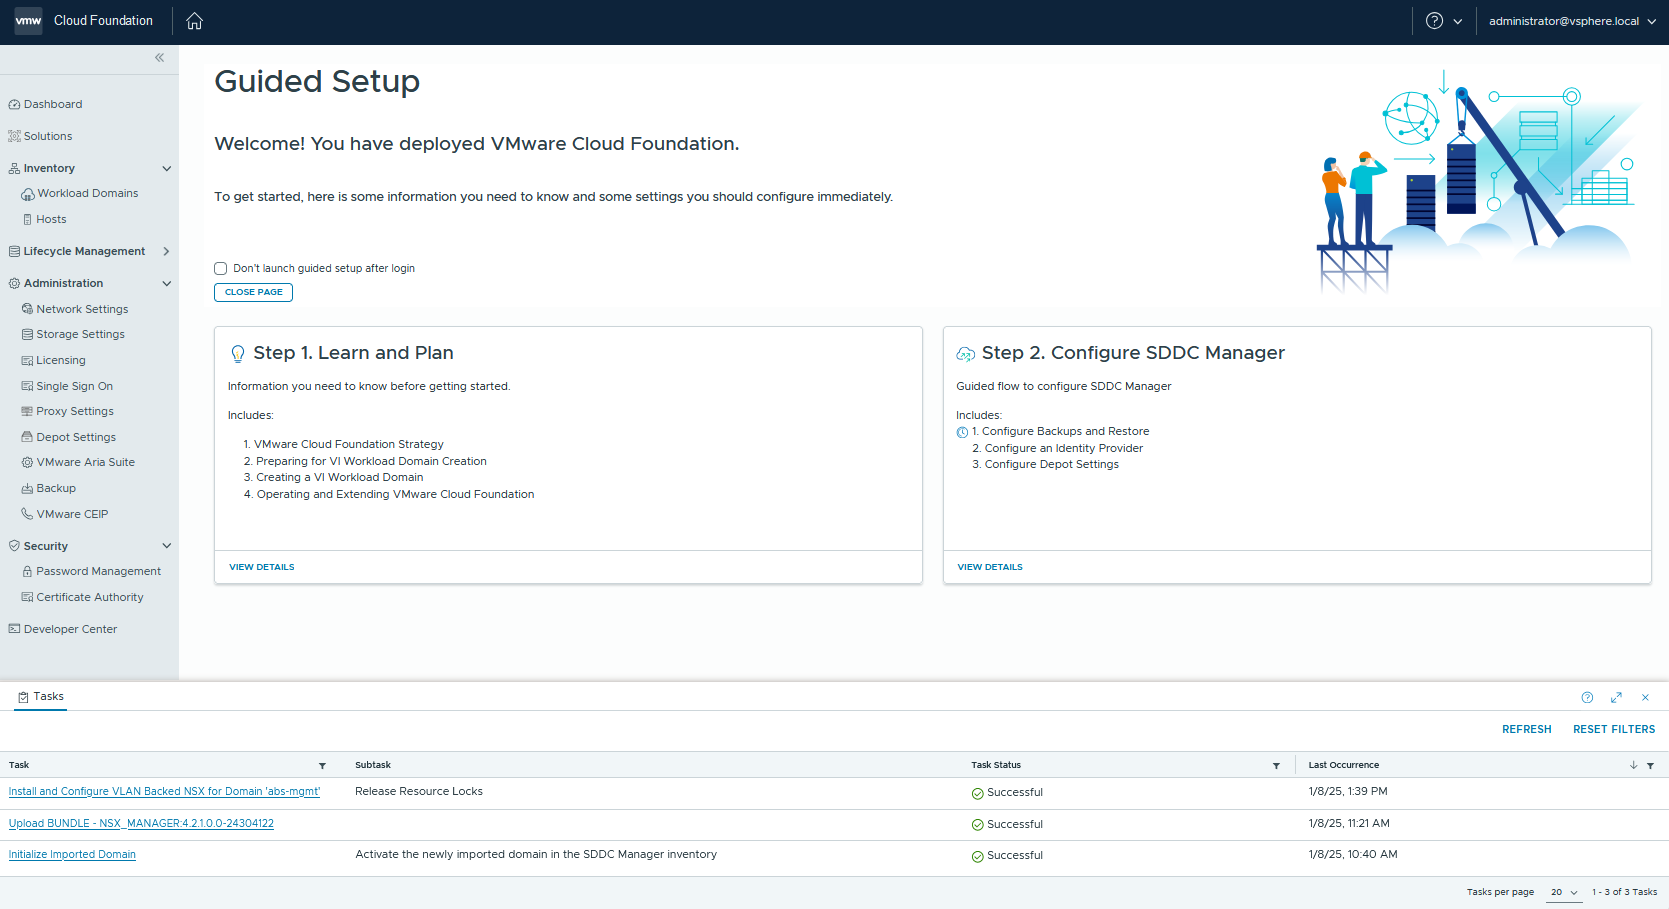
Lab Tutorial: Deploy and Convert vSphere to VCF Management Domain with NSX Deployment on the new VCF Management Domain Thought: VCF Import Tool 5.2.1.0 first release as been superseded by the new complely revamped in 5.2.1.1 and now 5.2.1.2 to the point where the previous release download are no more available, there …
Read More